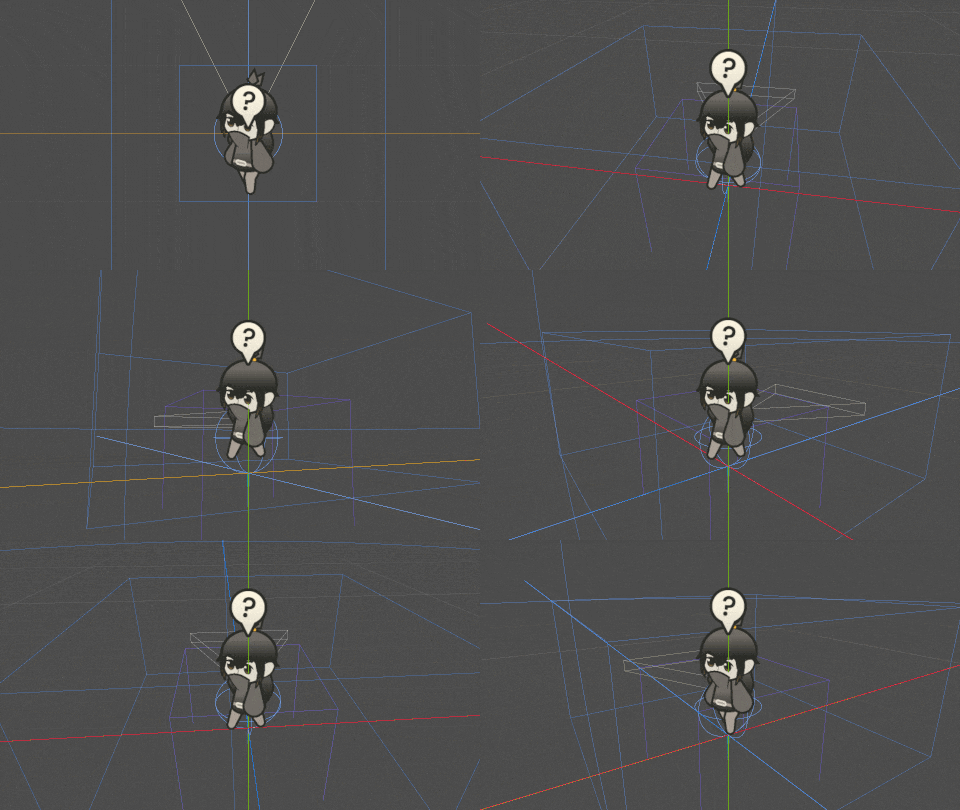
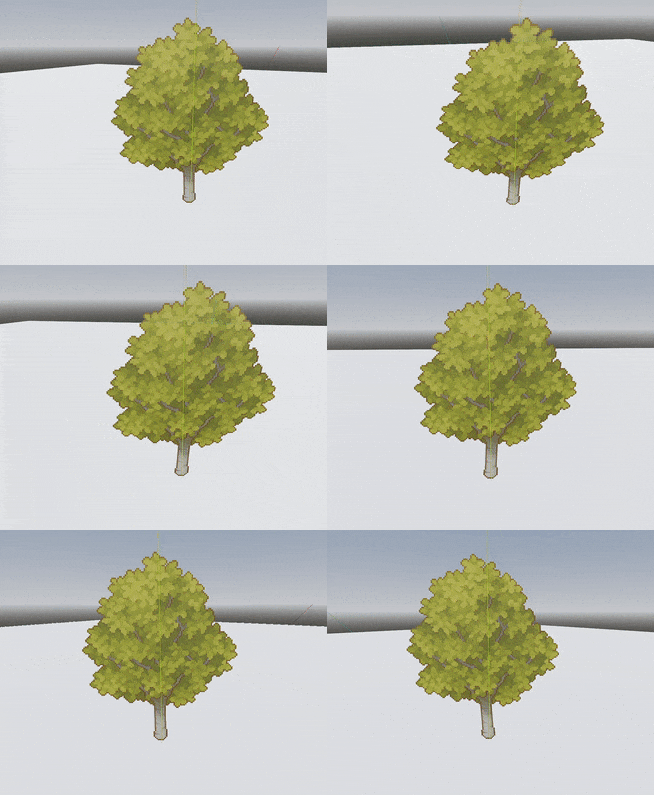
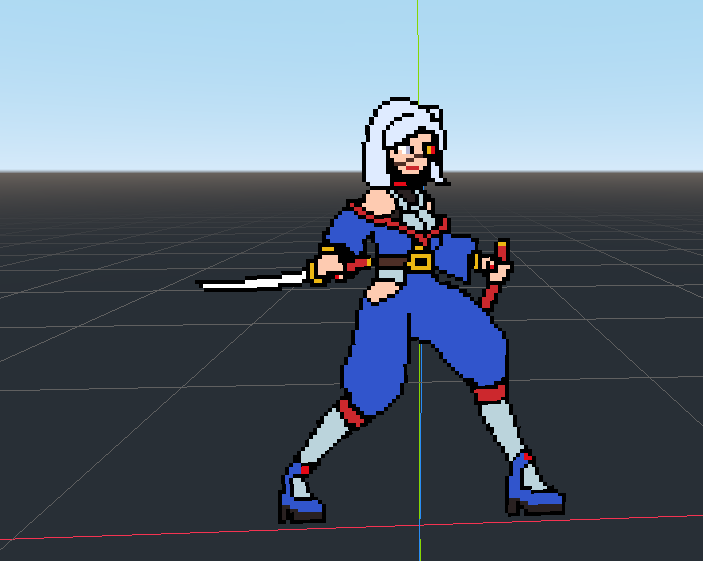
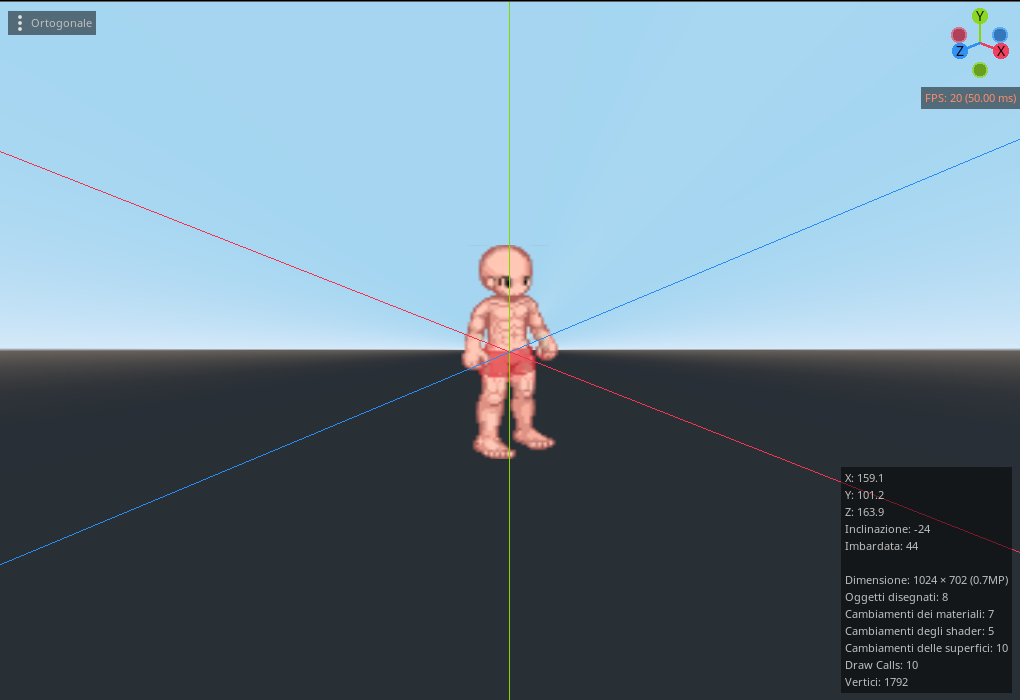
Billboard Sprite3D Hitflash (Godot 4.x)
Use with Sprite3D and AnimatedSprite3D nodes. It works best if set as the material override (under GeometryInstance3D tab).
Tips:
After setting up the shader copy the texture from the Sprite3D and set it as ‘Tex’ in the shader parameters. If you would like to use this shader with an AnimatedSprite3D set tex as the texture containing all the sprites in your sprite frames (the sprite sheet). I’m not sure if it’ll work if you aren’t using a sprite sheet.
You can set the flash colour and toggle the billboard setting in shader parameters also. Animate the hitflash with the active parameter using an animation player or do it in code with something like:
$Sprite3D.material_override.set_shader_parameter("active",true)Note: If you don’t need any billboarding comment out the entire vertex() function in the gdshader.
Shader code
shader_type spatial;
render_mode unshaded, cull_disabled, depth_draw_opaque, depth_prepass_alpha;
// Remove unshaded if you want shading
// Replace cull_disabled if you want to only show one side (cull_front, cull_back)
// Reference for depth ::: https://docs.godotengine.org/en/stable/tutorials/shaders/shader_reference/spatial_shader.html#render-modes

uniform bool active = false; // Sets pixels to flash color when true
uniform vec4 flash_color: source_color = vec4(1.0,1.0,1.0,1.0); // The color to use when active
uniform bool y_billboard = false; // Enables Y-Billboarding when true
uniform sampler2D tex: source_color; // A copy of the texture for the Sprite3D or AnimatedSprite3D

void vertex() {
	// You can comment out this function if you don't need billboarding
	if (y_billboard == true) {
		MODELVIEW_MATRIX = VIEW_MATRIX * mat4(vec4(normalize(cross(vec3(0.0, 1.0, 0.0), INV_VIEW_MATRIX[2].xyz)), 0.0), vec4(0.0, 1.0, 0.0, 0.0), vec4(normalize(cross(INV_VIEW_MATRIX[0].xyz, vec3(0.0, 1.0, 0.0))), 0.0), MODEL_MATRIX[3]);
	}
	else {
		MODELVIEW_MATRIX = VIEW_MATRIX * mat4(INV_VIEW_MATRIX[0], INV_VIEW_MATRIX[1], INV_VIEW_MATRIX[2], MODEL_MATRIX[3]);
	}
	MODELVIEW_NORMAL_MATRIX = mat3(MODELVIEW_MATRIX);
}

void fragment() {
	vec4 col = texture(tex,UV);
	vec4 set_col = col;
	if(active == true) {
		set_col = flash_color;
	}
	ALBEDO = vec3(set_col.r,set_col.g,set_col.b);
	ALPHA = col.a;
}


this question cost me one day.
very very thanks for you.
If you want to use this with pixel art or if your sprite seems “fuzzy”, you should change the uniform sampler2D as such:
You can add repeat_disabled to that list too, if needed.