Magnifying Glass with Lens Distortion effect
How to Set Up
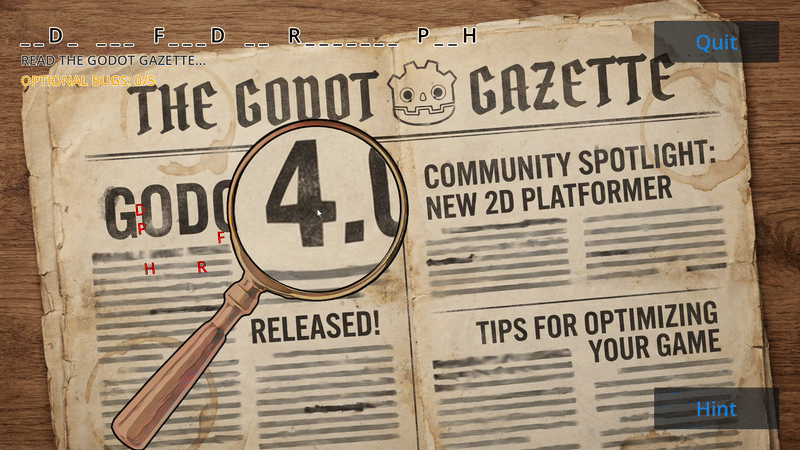
This shader can be applied to any node that supports materials, specifically MeshInstance2D or Sprite2D, to create a magnifying glass or lens distortion effect.
Steps to Apply the Shader:
-
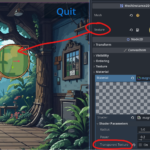
Create a new Shader Material
- Select your MeshInstance2D or Sprite2D (or another node that supports materials).
- In the Inspector, scroll down to Material and click [empty] → New ShaderMaterial.
-
Attach the Shader
- Click on ShaderMaterial → [empty] → New Shader.
- Open the newly created Shader and paste the shader code inside.
-
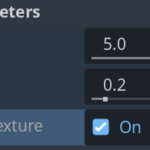
Customize the Effect
- Adjust radius to change the size of the magnifying area.
- Increase power to control how strong the distortion is.
- If transparent_texture is false, the node texture will be multiplied with the current color (
COLOR *= tex_color;), allowing for a blended effect (colored lens).
Additional Notes:
- The effect will be centered in the middle of the node.
- The shader automatically accounts for the screen aspect ratio to keep the effect circular.
Shader code
shader_type canvas_item;

// Controls the zoom
uniform float radius : hint_range(0.0, 5.0, 0.01) = 5;
// Controls the intensity of the distortion (higher values = more distortion)
uniform float power : hint_range(0.01, 3.0, 0.01) = 0.2;
// If true, color will be set directly, if false, color will be multiplied (for colored lenses)
uniform bool transparent_texture = true;
// This gives us access to the screen texture so we can warp it
uniform sampler2D SCREEN_TEXTURE : hint_screen_texture;


// This will store the center position of the effect on the screen
varying vec2 screen_center;

void vertex() {
    // Convert the object's position to screen space
    screen_center = (CANVAS_MATRIX * MODEL_MATRIX[3]).xy;
}

void fragment() {
    vec2 uv = SCREEN_UV; // Get the current pixel's UV coordinates
    vec2 centerUV = screen_center * SCREEN_PIXEL_SIZE; // Convert the center to UV space

    // Adjust for aspect ratio to prevent oval distortion
    vec2 aspect_ratio = vec2(SCREEN_PIXEL_SIZE.y / SCREEN_PIXEL_SIZE.x, 1.0);
    vec2 adjusted_uv = (uv - centerUV) * aspect_ratio + centerUV;

    // Calculate distance from the effect center
    float dist = distance(centerUV, adjusted_uv);

    // Compute warp intensity based on distance and power setting
    float warp = clamp(1.0 - pow(dist / radius, power), 0.0, 1.0);

    // Apply the distortion effect by pulling UVs towards the center
    vec2 warped_uv = uv + (centerUV - uv) * warp;

    // Sample the screen texture at the new warped UVs
    vec4 tex_color = texture(SCREEN_TEXTURE, warped_uv);

    // If transparent_texture is true, directly set the color, otherwise multiply the color
    if (transparent_texture) {
        COLOR = tex_color;
    } else {
        COLOR *= tex_color;
    }
}
Live Preview

ai slop
Super helpful and easy to use 🙂
Thank you 😀