Interlaced Video
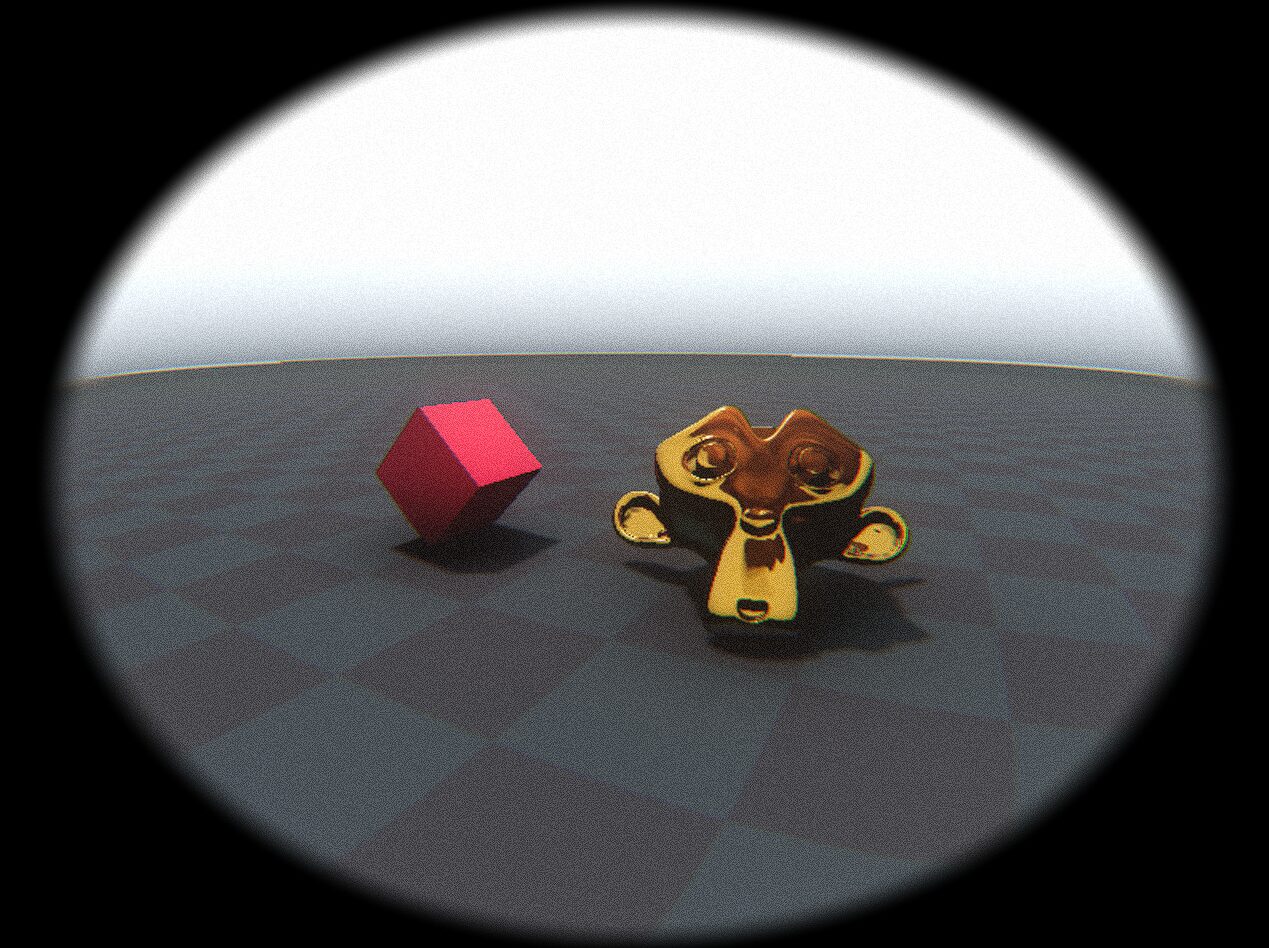
This shader simulates interlaced video combing.
For the set-up you will need:
– A ColorRect, set to full rect, with the Script below.
– A SubViewportContainer set to full rect and the property ‘Stretch‘ set to True.
– A SubViewport, as a child of the container.
– A second Camera3D, as a child of the subviewport
– A Timer, set to ‘Autostart‘.
If your camera is static that’s all you need, otherwise you will ned a RemoteTransform3D as a child of your player’s camera, with the target set to the Interlacing Camera.
Your node tree should look something like this.
TIPS:
– I recommend setting the interlacing timer to 0.01-0.025s for a 1-2 frame delay at 60fps. Longer times yield slightly better performance but look really bad.
– For better performance, set the “Stretch Shrink” property in your SubViewportContainer to 2. This will halve the combed picture’s resolution, It’s not too discernable and it’s significantly less expensive. (IMPORTANT: If you do this, set the ‘Modulate’ on the SubViewportContainer to transparent, otherwise it will halve the resolution of the entire screen.
UPDATE: Removed the conditional branching from the shader code, which improved performance a little bit.
## GDSCRIPT
extends ColorRect

@export var interlace_viewport : SubViewport
@onready var interlacing_material : ShaderMaterial = self.material
@export var interlacing_timer : Timer

####### Connect the interlacing timer's timeout signal here #########
func _on_interlacer_timer_timeout() -> void:
	var viewport_img : ImageTexture = ImageTexture.create_from_image(
		interlace_viewport.get_texture().get_image()
	)

	interlacing_material.set_shader_parameter("delayed_screen", viewport_img)
	interlacing_timer.start()
Shader code
// SHADER CODE
shader_type canvas_item;
uniform float line_thickness : hint_range(1.0, 100.0) = 10.0;
uniform sampler2D delayed_screen : source_color;

void fragment() {
    float screen_y = FRAGCOORD.y;
    int line_number = int(screen_y / line_thickness);

    float alpha = mod(float(line_number), 2.0);
    COLOR = texture(delayed_screen, SCREEN_UV);
    COLOR.a *= 1.0 - alpha;
}

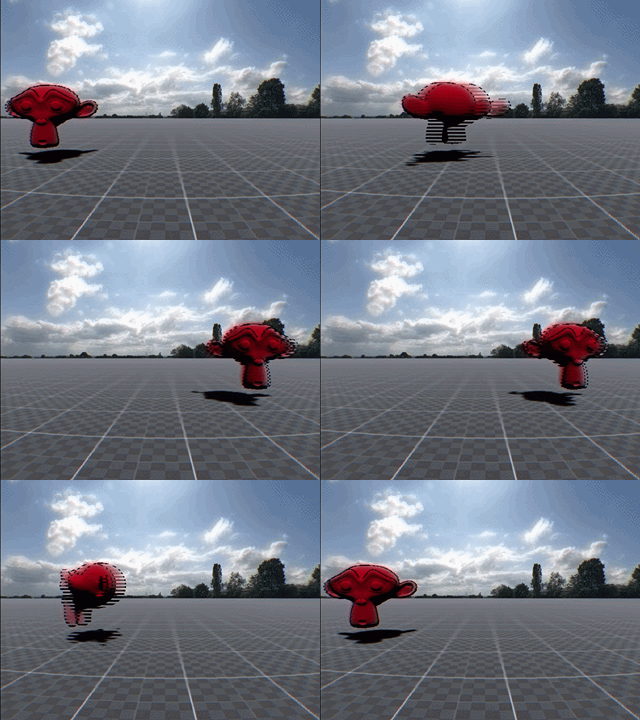


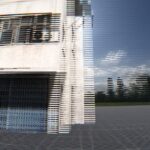
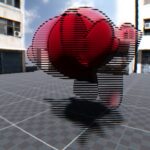

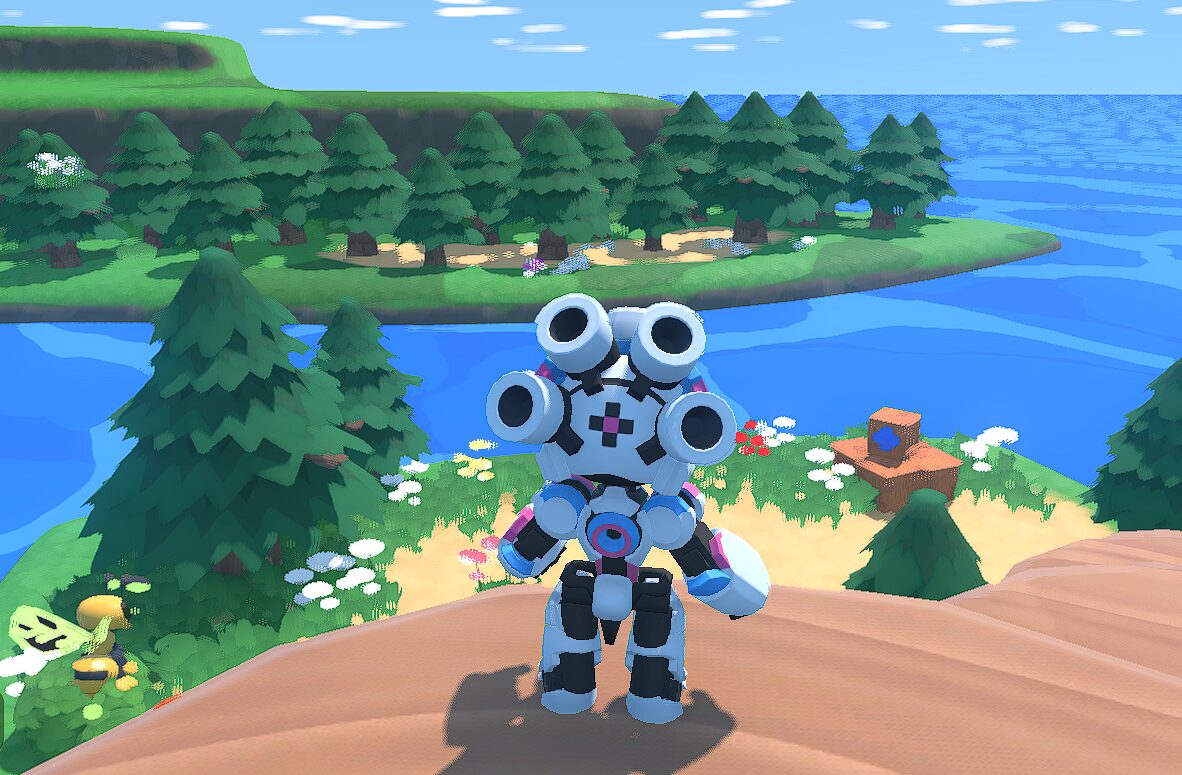

Looking at both shaders you’ve uploaded to this page, I’m curious to see what project you’re working on.
They’re not really related, it’s mainly just me experimenting and learning Godot shaders 🙂
hmm, i’m having issues with the shader, it is somewhat working but the subviewport is in the topcorner
Is the Subviewport the correct resolution? You can either input your project’s resolution in the subviewport manually or make it a child of a subviewportcontainer and set that to full rect which will resize accordingly
Oh and also remember to enable ‘Stretch’ in the SubViewportContainer!
Hello, thanks for making this!
Seems I couldn’t get the timer part to work quite right, my output was a live feed, basically. No matter what I set the timer to. I had to attach this func since it wouldnt start on its own
func _process(delta): if interlacing_timer.time_left <= 0: _on_interlacer_timer_timeout() interlacing_timer.start()
this made it work just fine so I don’t need help getting it to work, but I’m still curious if I misunderstood a step? cheers!
Hi! Did you connect the timer’s timeout signal to the function in the ColorRect?
Select the Interlacing Timer
Open the Node Tab (between the inspector and history)
Double click on timeout()
Select the ColorRect
Click on Pick
Select _on_interlacer_timer_timeout()
Hi, im kinda new to godot, I just wanna ask where do I put the ColorRect code in? because I thought that I had to make a script in the ColorRect and paste the code there, but when I saw the photo of what it should look like, I didn’t see that the ColorRect had a script to it.
i can only see white stripes after applying everything
Hey man, I tried using the shader but it only shows white lines instead of interlacing. I’m pretty sure it’s something to do with the delayed screen because I can’t find what to connect it to.