Line2D animation
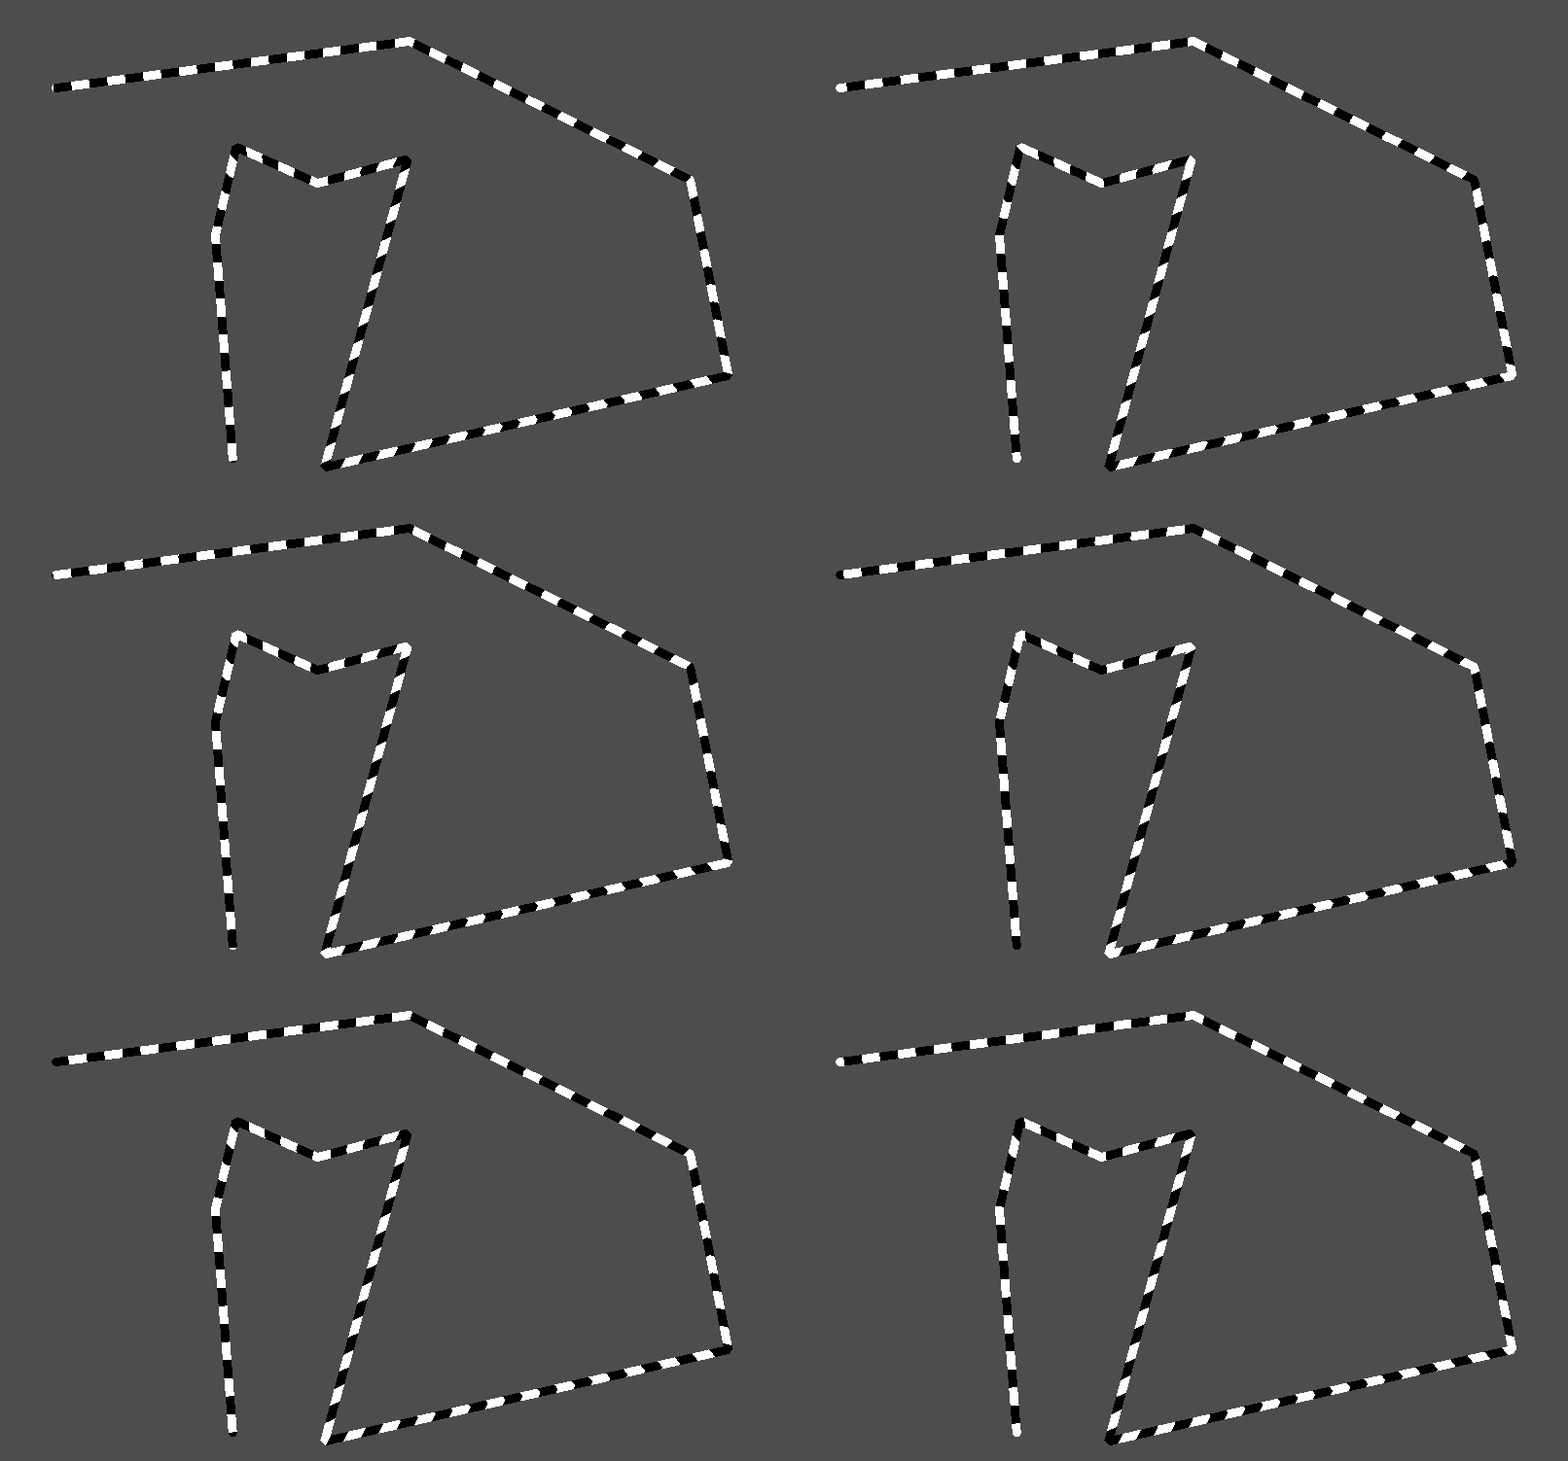
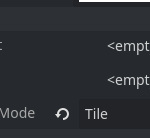
To get the marching ant effect you need to set the Fill->Texture Mode property of Line2D to Tile.
This shader also only applies the flat colors to the line, so if you have set anything to Fill->Gradient or Fill->Texture, these properties will be ignored.
You can customise these values:
- Width and spacing of the tiles (Frequency)
- how far the “spikes” / “tiles” go into the line (Amplitude)
- Speed of the animation
- Direction (-1 or 1, anything in between will also affect the speed)
- Colors for the tiles
- Opacity
Shader code
shader_type canvas_item;

// Parameters for the sine wave
uniform float frequency = 1.5;
uniform float amplitude = 1000.0;
uniform float speed = 10.0;
uniform float direction: hint_range(-1.0, 1.0) = 1.0;

// Uniforms for colors
uniform vec4 color1: source_color = vec4(1.0, 1.0, 1.0, 1.0);
uniform vec4 color2: source_color = vec4(0.0, 0.0, 0.0, 1.0);
uniform float opacity: hint_range(0.0, 1.0) = 1.0;

void fragment() {
    vec2 uv = FRAGCOORD.xy;
    float sine_wave = sin(UV.x * frequency + TIME * speed * direction) * amplitude;
    uv.y += sine_wave;
    float t = sin(UV.x * frequency + TIME * speed * direction);
    vec4 final_color = t > 0.0 ? color1 : color2;
    final_color *= vec4(1.0, 1.0, 1.0, opacity);
    COLOR = final_color;
}


Thanks for this amazing shader!
However, it seems to change the color of the entire Line2D rather than creating the marching ant effect.
Could you provide more information on how to apply it as shown in the preview?
Oh sorry I totally forgot that, I added it to the description. The Fill->Tile Mode property of the Line2D node needs to be set to Tile.
Thank you so much!