
Selective Post-processing
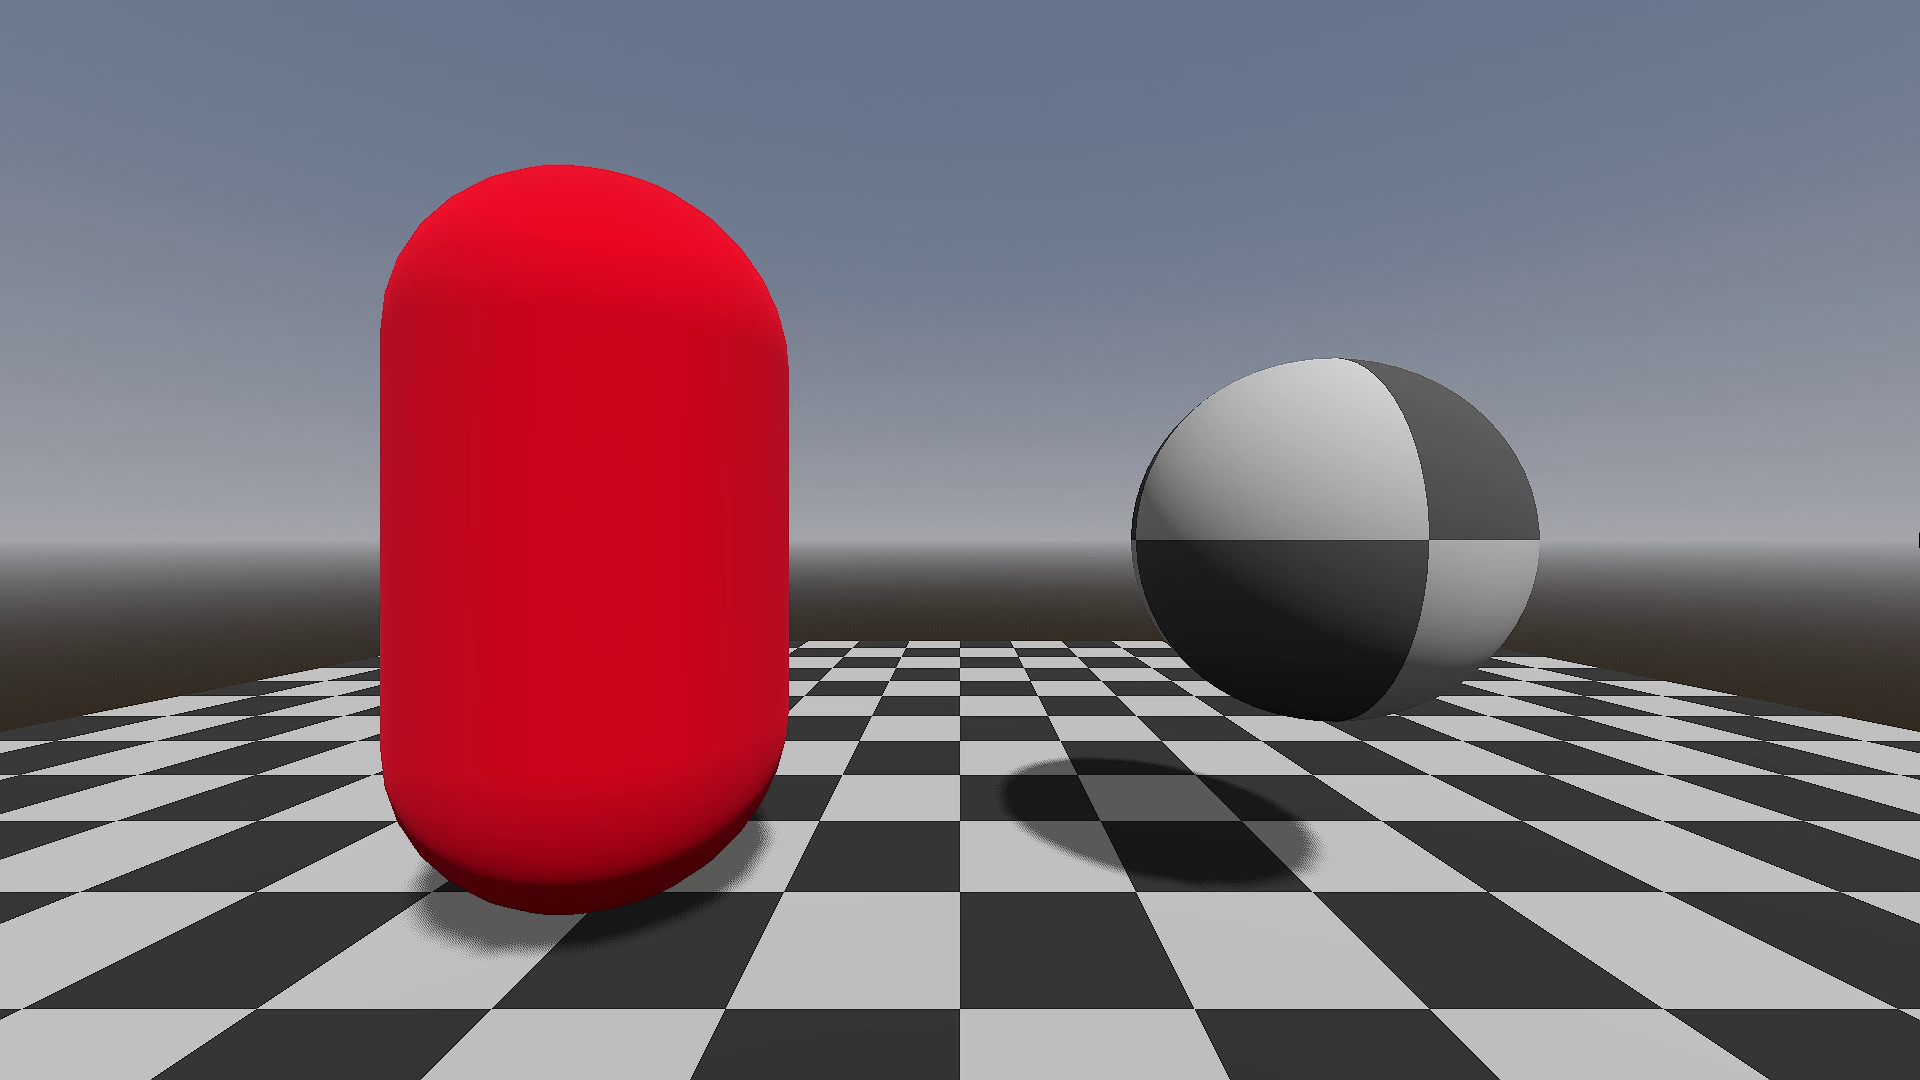
This is a very simple example from my “how to convert Godot post-processing shaders into selective post-processing shaders” tutorial.
The tutorial (available on youtube [AI dubbed]) explains how to convert any post-processing canvas shader into a selective post-processing shader, so you can apply the desired post-processing effect ONLY to some elements on the scene (like bakcgrounds). Since this trick uses the stencil, the shader also needs to be converted to spatial (explained in the tutorial).
The original shader for this example was made by SimranZenov, and its just a simple grayscale shader.
You can find the full example on my github. It also includes another post-processing shader example (color correction grading by lil_sue).
Hope you’ll like 🎁
Shader code
// Original from:
// https://godotshaders.com/shader/simple-grayscale-shader-for-canvasitem/
// by SimranZenov
// Converted to spatial + stencil by Profesor Shader

shader_type spatial;

render_mode unshaded, cull_disabled, depth_test_disabled, depth_draw_never, fog_disabled;
stencil_mode read, compare_not_equal, 1;

uniform sampler2D screen_texture : hint_screen_texture, repeat_disable;
uniform float saturation : hint_range(0.0, 1.0) = 1.0; // 0 = grayscale, 1 = full color

void fragment() {
	vec4 tex = texture(screen_texture, SCREEN_UV);
	float gray = dot(tex.rgb, vec3(0.299, 0.587, 0.114)); // luminance weights
	vec3 result = mix(vec3(gray), tex.rgb, saturation);
	// COLOR = vec4(result, tex.a);
	ALBEDO = result;
	ALPHA = tex.a;
}