Teleport effect
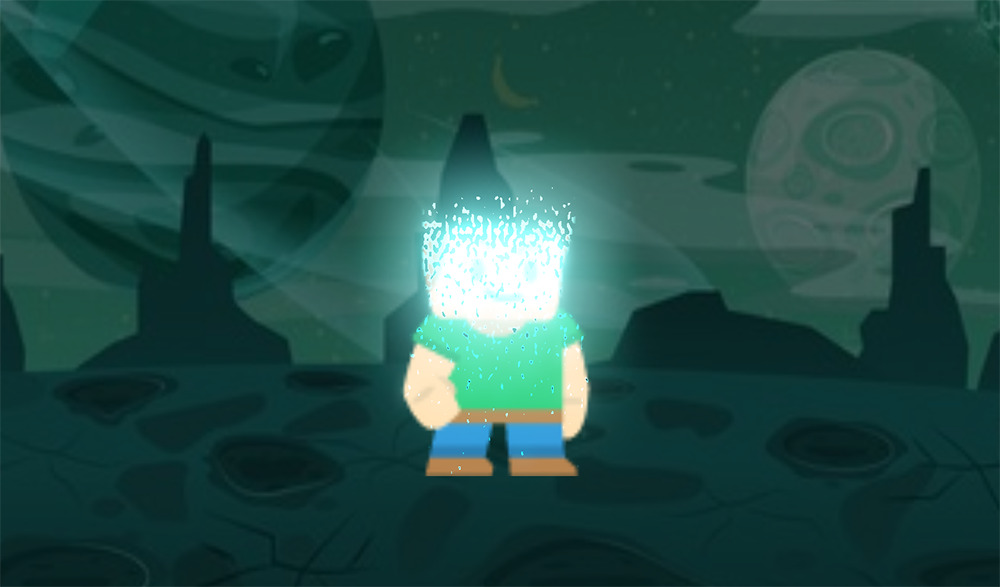
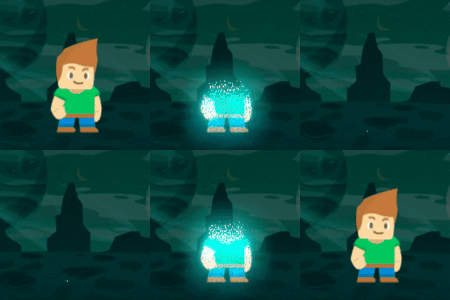
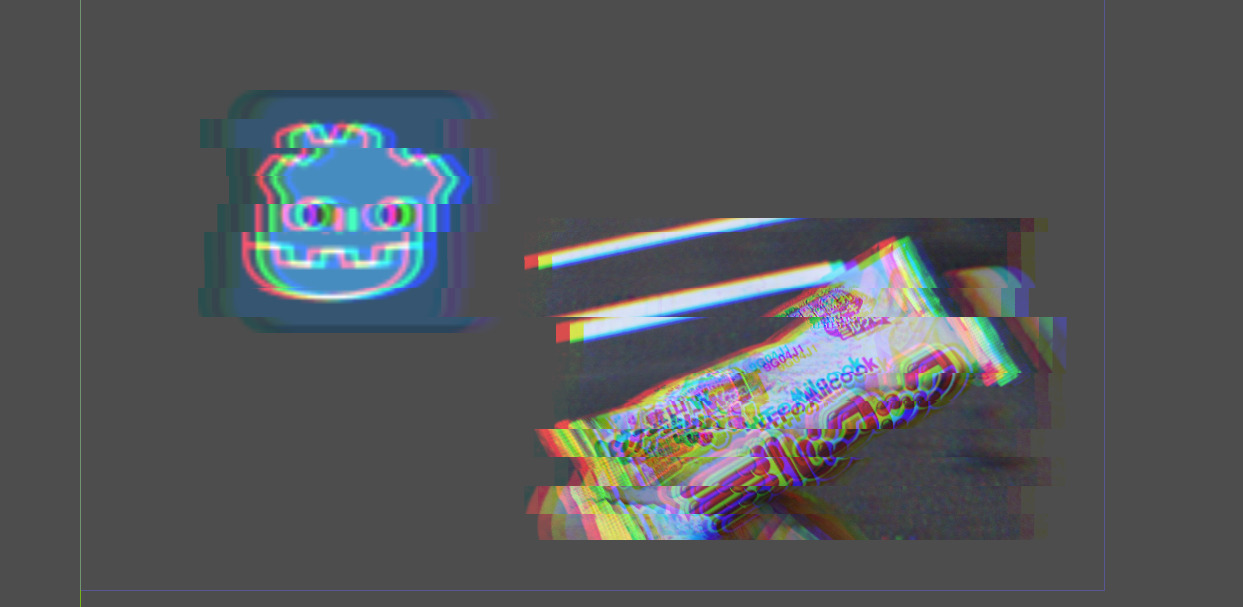
Make an object dissapear in a bright glow, like it is being teleported away. See the effect in action in the animation below.
Glow
Adding the shader code will make the character dissappear but it won’t make the effect glow. For that you will have to add an Environment node:
- Add an Environment node to the scene
- Set Background > Mode to “Canvas”
- Under Glow, check “Enabled”.
- Play with the “Intensity”, “Strength” and “Blend Mode” properties to get the effect you want. (I use Screen blend mode.)
- You can also set color as “Raw” values over 1.0 to crank up the glow (the default color is set like this, in a cyan hue).
Shader code
/*
Shader from Godot Shaders - the free shader library.
godotshaders.com/shader/teleport-effect

This shader is under CC0 license. Feel free to use, improve and
change this shader according to your needs and consider sharing
the modified result on godotshaders.com.
*/

shader_type canvas_item;

uniform float progress : hint_range(0.0, 1.0);
uniform float noise_desnity = 60;
uniform float beam_size : hint_range(0.01, 0.15);
uniform vec4 color : hint_color = vec4(0.0, 1.02, 1.2, 1.0);

// We are generating our own noise here. You could experiment with the
// built in SimplexNoise or your own noise texture for other effects.
vec2 random(vec2 uv){
    uv = vec2( dot(uv, vec2(127.1,311.7) ),
               dot(uv, vec2(269.5,183.3) ) );
    return -1.0 + 2.0 * fract(sin(uv) * 43758.5453123);
}

float noise(vec2 uv) {
    vec2 uv_index = floor(uv);
    vec2 uv_fract = fract(uv);

    vec2 blur = smoothstep(0.0, 1.0, uv_fract);

    return mix( mix( dot( random(uv_index + vec2(0.0,0.0) ), uv_fract - vec2(0.0,0.0) ),
                     dot( random(uv_index + vec2(1.0,0.0) ), uv_fract - vec2(1.0,0.0) ), blur.x),
                mix( dot( random(uv_index + vec2(0.0,1.0) ), uv_fract - vec2(0.0,1.0) ),
                     dot( random(uv_index + vec2(1.0,1.0) ), uv_fract - vec2(1.0,1.0) ), blur.x), blur.y) * 0.5 + 0.5;
}

void fragment()
{
	vec4 tex = texture(TEXTURE, UV);

	float noise = noise(UV * noise_desnity) * UV.y;

	float d1 = step(progress, noise);
	float d2 = step(progress - beam_size, noise);

	vec3 beam = vec3(d2 - d1) * color.rgb;

	tex.rgb += beam;
	tex.a *= d2;

	COLOR = tex;
}




This is a great shader effect
Thanks for sharing
how did you setup your world environment?
Clear instructions and a great effect that’s super versatile! Using it as a death animation in a pixel art prototype. Thanks a lot.
Great shader I use it in my dash mechanic and is more like 101% better than before.
Works perfecty! Thank you for you’re clear steps. Any ideas how I could make the effect more low-res and pixelated? Noise density is great but I would love to be adjust the pixel resolution so that it was nice and chunky 🙂
Thank you! Not sure, but perhaps you can combine it with this shader for a more pixelated look https://godotshaders.com/shader/pixelate/
Don’t know if you tried, but I had to go back and try it for myself just to see the effect. Making it more pixelated is actually really cool! And simple, just replace the old noise generation (line 41) with this and add a uniform for pixel_amount.
is there any way to offset so that the pixel effect matches the sprite, for me it is shifted over when I put in the pixel amount for my sprite (covers a quarter of each pixel but never a full pixel) https://imgur.com/a/MwHbozD
im sorry noob here. i put the shader as the material on my animated sprite. i can manually set the progress as say .1 and so on but how do i make the effect play out?? im missing something here. it doesn’t play the effect but im sure its something im not doing.
Yes, so you will have to animate the value. I think the simplest way is to use an AnimationPlayer and hook up the ‘Progress’ shader parameter like you would hook up any other property. You could also do it in code with, for example, a Tween.
Thank You!
It doesn’t look like in your gif at all :). For me it looks like dissolve — no top to bottom “disappearing” effect —
And would/should it work with GLES2?
That’s odd, not sure why that is without knowing more about your setup. It should work fine with GLES2. It is the multiply with UV.y on row 41 that makes the vertical movement. Perhaps try to play around with that and see if there is any effect.
I have just applied material with this shader to the sprite (256×256).
Huh, let me check — my sprite is a texture with 16 frames, it might be the reason
Yes, indeed! It works if applied to a non-framed sprite. Now I have to figure out how to apply it for a framed one.
Ok, so it is probably applying the effect on the whole texture. It should work with an AnimatedSprite, if that could be a solution.
Unfortunately no, It would take too much efforts to redo all my animations. I might have a workaround, like replace spritesheet with single cutout sprite when I need this effect to be applied. Again not sure about it.
And the shader itself is really cool, thank you!
If only it would be possible to apply the shader to the parent node…
— Node2D: <— with material and shader
———Sprite: <— with framed texture animated by AnimationPlayer
maybe you should change the beamsize(it performs perfect when i change it to 0.02
Hey there!
Just wanted wanted to know if someone else here has an idea on how to fix my issue with this shader.
Im trying to apply this shader to a panel with a custom style but as soon as I apply this shader it turns the whole panel white and I’m unsure as to what is causing this and how to fix it.
On everything else that is not using a custom style it is working splendidly though.
Much love~
@pend00 Hi, that’s a really nice shader.
Is there any way to “flip it”, so the disappear starts at the bottom and ends at the top?
That would help me a lot!
Hey, I just wanted to do the same and the key line is line 41,
If you change it to UV.x you will get horizontal. And if you want to get the inverse change it to (1.0 – UV.x)
So here is a list for all directions, pick the one you need. Or implement an input and switch between them, which is what I did.
The Shader is awesome, it also works with Godot 4, but one line need to be changed 🙂